android:notification学习笔记
标签: android
一直想试一下markdown写出来的效果,今天刚好看了一下android notification部分的内容,正好可以试验一下。
一、通知的基本用法
要创建一个通知,首先需要一个NotificationManager对通知进行管理,获取NotificationManager实例的方法可以调用Context的getSystemService()方法获取,该方法需要传入一个字符串参数用于确定获取系统的哪个服务,这里传入Context.NOTIFICATION_SERVICE。
接下来需要创建一个Notification对象,一个旧的方法是调用Notification类的有参构造函数,例子如下:1
Notification notification = new Notification(R.drawable.ic_launcher,"One night in beijing",System.currentTimeMillis());
该有参构造函数接收三个参数,第一个参数用于指定通知的图标,第二个参数用于指定通知得ticker内容,当指定通知被创建的时候,它会在状态栏一闪而过,第三个参数用于指定通知被创建的时间,一般设定为System.currentTimeMillis()。
接下来还要对通知的布局进行设定,可以调用Notification的setLatestEventInfo()方法对通知设定布局,例子如下:1
notification.setLatestEventInfo(this,"This is content title","This is content text", null);
该方法接收4个参数,第一个参数是上下文Context,第二个参数指定通知的标题内容,第三个参数指定通知的正文内容,第四个参数指定改通知的点击事件,通常传入的是PendingIntent类的实例。
对于PendingIntent类,该类与Intent类类似,用法很简单。可以根据需要通过该类的getActivity()方法、getBroadcast()方法或者getService()方法来获取该类的实例,例子如下:1
PendingIntent pi = PendingIntent.getActivity(this,0,intent,PendingIntent.FLAG_CANCEL_CURRENT);
该方法接收4个参数,第一个参数是上下文Context,第二个参数一般用不到,直接传入0,第三个参数传入一个Intent对象,通过这个对象构建出PendingIntent对象的“意图”,第四个参数用于确定PendingIntent的行为,可以传入四种值,下面是对这四种值意思的解释:
以上即为创建Notification所需要的知识,下面通过实例来看一下具体怎么使用Notification.
1.新建一个NotificationTest工程
2.修改activity_main.xml中的代码,如下:1
2
3
4
5
6
7
8
9
10
11
12
13<LinearLayout xmlns:android="http://schemas.android.com/apk/res/android"
xmlns:tools="http://schemas.android.com/tools"
android:layout_width="match_parent"
android:layout_height="match_parent"
android:orientation="vertical"
>
<Button
android:id="@+id/send_notice"
android:layout_width="match_parent"
android:layout_height="wrap_content"
android:text="Send notice"
/>
</LinearLayout>
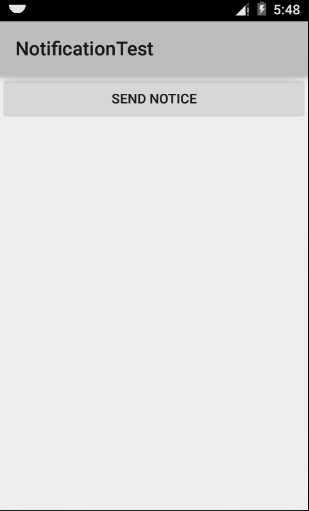
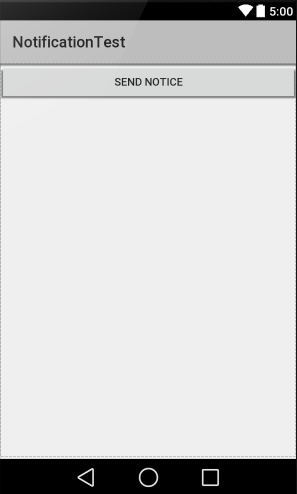
布局里面只有一个SEND NOTICE按钮,如图所示:
3.修改MainActivity中的代码,如下所示:1
2
3
4
5
6
7
8
9
10
11
12
13
14
15
16
17
18
19
20
21
22
23
24
25
26
27
28
29
30public class MainActivity extends Activity implements View.OnClickListener {
private Button sendNotice;
@Override
protected void onCreate(Bundle savedInstanceState) {
super.onCreate(savedInstanceState);
setContentView(R.layout.activity_main);
sendNotice = (Button) findViewById(R.id.send_notice);
sendNotice.setOnClickListener(this);
}
@Override
public void onClick(View v) {
switch (v.getId()){
case R.id.send_notice:
NotificationManager manager = (NotificationManager)getSystemService(Context.NOTIFICATION_SERVICE);
Notification notification = new Notification(R.drawable.ic_launcher,
"this is ticker text",System.currentTimeMillis());
Intent intent = new Intent(this,NotificationActivity.class);
PendingIntent pi = PendingIntent.getActivity(this,0,intent,PendingIntent.FLAG_CANCEL_CURRENT);
notification.setLatestEventInfo(this,"This is content title","This is content text",
pi);
manager.notify(1,notification);
break;
default:
break;
}
}
}
创建一个新布局文件notification_layout.xml并添加以下代码:1
2
3
4
5
6
7
8
9
10
11
12<RelativeLayout xmlns:android="http://schemas.android.com/apk/res/android"
android:layout_width="match_parent"
android:layout_height="match_parent">
<TextView
android:layout_width="wrap_content"
android:layout_height="wrap_content"
android:layout_centerInParent="true"
android:textSize="24sp"
android:text="This is notification layout"
/>
</RelativeLayout>
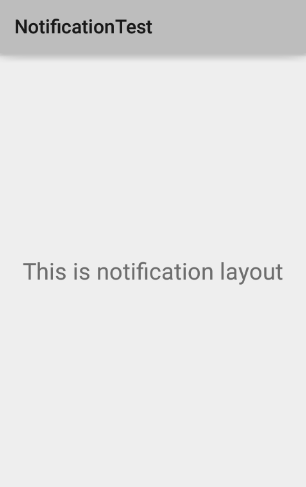
此布局仅定义了一个TextView位于屏幕正中心并显示This is notification layout。
创建一个类NotificationActivity.java并添加下面的代码:1
2
3
4
5
6
7
8
9public class NotificationActivity extends Activity {
@Override
protected void onCreate(Bundle savedInstanceState){
super.onCreate(savedInstanceState);
setContentView(R.layout.notification_layout);
NotificationManager manager = (NotificationManager) getSystemService(NOTIFICATION_SERVICE);
manager.cancel(1);
}
}
此类用于响应下拉系统状态栏,点击Notification的事件。
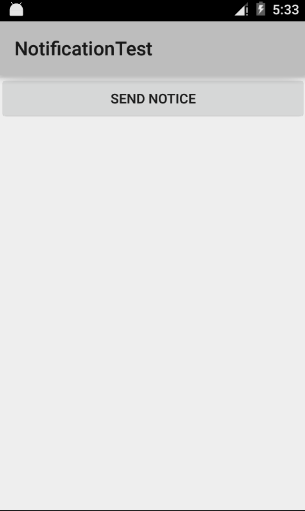
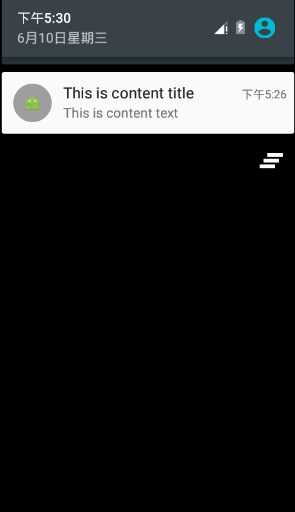
调试结果如下图:
点击通知可以看到进入程序另一个布局文件:
这里使用的是旧式的方法创建的Notification对象,可以看到在使用的时候方法名字上会出现横线,这表示该已经过时,推荐使用新的方法。按住control键鼠标单击方法名称可以跳转到该方法定义出,上面会有一句1
* @deprecated Use {@link Builder} instead.
表示可以使用Builder来创建Notificationd的实例,下面分析如何使用Builder。
1.创建一个Builder对象1
Notification.Builder builder = new Notification.Builder(this);
2.设置Builder对象的各个参数1
builder.setContentTitle("我是notification的标题").setContentText("我是notification的内容").setSmallIcon(R.drawable.watermelon).setLargeIcon(BitmapFactory.decodeResource(getResources(),R.drawable.ic_launcher));
3.通过Builder对象的build()方法创建Notification实例1
Notification notification = builder.build();
上述3个步骤即可以创建Notification实例对象。
修改onClick()方法如下:1
2
3
4
5
6
7
8
9
10
11
12
13
14
15public void onClick(View v) {
switch (v.getId()){
case R.id.send_notice:
NotificationManager manager = (NotificationManager)getSystemService(Context.NOTIFICATION_SERVICE);
Notification.Builder builder = new Notification.Builder(this);
builder.setContentTitle("我是notification的标题").setContentText("我是notification的内容")
.setSmallIcon(R.drawable.watermelon)
.setLargeIcon(BitmapFactory.decodeResource(getResources(),R.drawable.ic_launcher));
Notification notification = builder.build();
manager.notify(1,notification);
break;
default:
break;
}
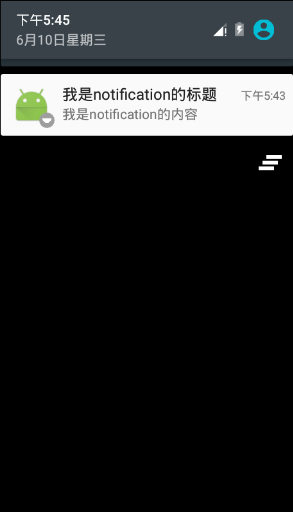
}
调试结果如下图:
